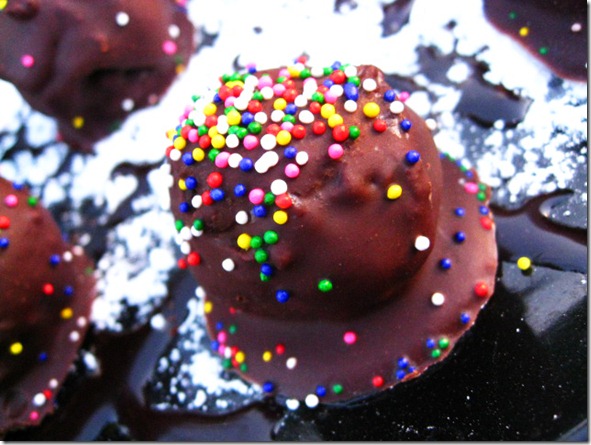
Recipe: Triple Chocolate Fudge Brownie Batter Truffle Balls

IMG_4837

Yes, you read that right.

Second SKC repost!

It is very possible that this post will change your life. That you may have an epiphany. That you may discover God’s gift to man. It takes some serious balls to back up a claim like that. But believe me, you’re about to get just that.

I’d like to introduce you to Triple Chocolate Fudge Brownie Batter Truffle Balls.

Wow, those balls sound like a mouthful.

That’s what she said.

Or maybe that’s what I said, right as my maturity launched itself out the window. Chocolate3 will do that to a girl. But I digress. Let’s stop trifling and talk about truffles.

Head over to http://college.biggirlssmallkitchen.com/2012/04/triple-chocolate-fudge-brownie-batter-truffle-balls.html for the rest. And for the love of all things good and chocolatey, comment and tell your friends—college student or not, they will fall in love with this orgasmic creation Winking smile 

Single Serving Honey Wheat Pancakes

photo 2

Last night, I made H and myself pancakes for dinner.

Because breakfast for dinner ROCKS, right?

(Ya’ll are jumping up and down in choruses of yes right now, I presume.)

photo 3

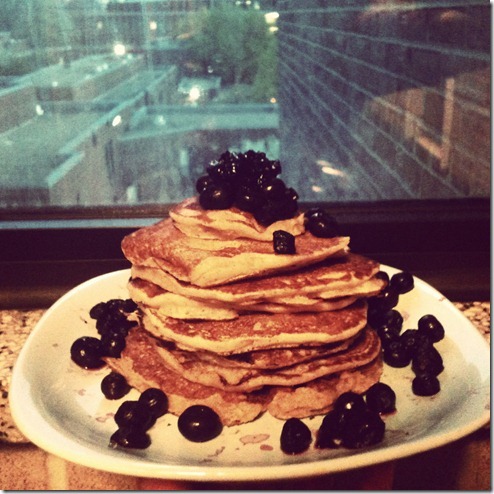
Beautious.

What were these?

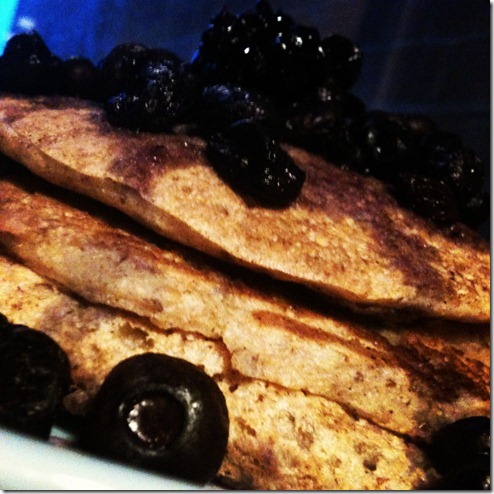
Single-serving honey wheat pancakes (x2) with warm blueberry sauce.

OMG. I decided to “wing it” and was happy that I did. These were absolutely scrumptious. They were dinner but breakfast, breakfast but dessert. And they were AH-FRICKIN-MAZING.

And because you guys have been awesome, I even have a recipe.

Whole wheat pancakes for one?

Well, ain’t that something.

Single Serving Honey Wheat Pancakes

I love my roommate. I also love Fridays. The product of these two facts resulted in me doubling this recipe to make pancakes for two. But if you’re rocking the single lady jam, I totally got your back. By all means, make these pancakes for the sexiest, snazziest, wittiest, awesomest, crazy coolest person you know—namely yourself! Oh, and feel darn good about it because these pancakes are filled with good-for-you ingredients and just happen to be vegan.

Serving: About 5 silver dollar pancakes

Notes: Vegan, if using oil / non-dairy margarine & milk

Ingredients:

1/4 cup whole wheat flour, heaping
1/4 cup unbleached all purpose flour, heaping
1/2 tbsp baking powder
1/2 tsp cinnamon
1/8 tsp salt
1 tbsp flax meal + 3 tbsp warm water, combined (optional, but it helps make these fluffy!)
1 tbsp honey
1 tbsp oil, butter, or margarine (melted)
3/4-1 cup milk of choice (I used soy)

Directions:

1) In a medium mixing bowl, combine flours, baking powder, cinnamon, and salt. Stir with a whisk, until all dry ingredients are evenly distributed.
2) Make a small well in the middle of your dry ingredients. To this well, add the flax mixture, honey, butter, and milk of choice.
3) Gently stir all ingredients with whisk until no lumps remain. Be very careful not to overmix. (The fluffiness of the pancakes depends on you being gentle with the batter.)
4) In a heated, greased skillet, use a 1/4 cup measure and pour three inch circles of batter. Cook until golden brown on each side.
5) Enjoy!

photo 1

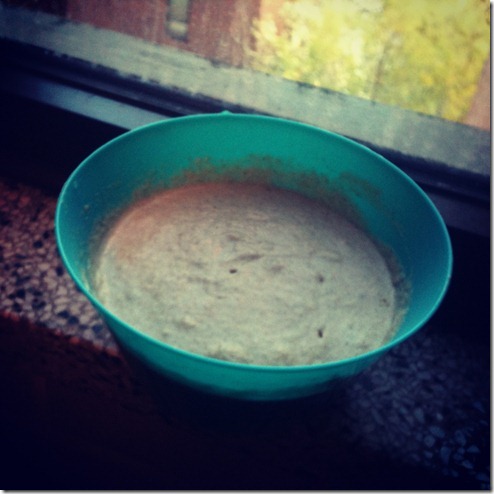
(Hint: You can make the batter in advance too! Just keep it in the fridge and then take it out about 10 minutes before you’re ready to use it.)

These pancakes are ever-so-subtly sweet and great topped with butter + maple syrup. You can nix the all purpose flour and sub more whole wheat flour and/or the flax meal. However, I would recommend trying it with them first because they both lend to the leavening of the ‘cakes.

Either way, they’ll make you feel awesome on a Friday.

Actually, either way, you are awesome. On every day of the week.

And the best way to celebrate?

Pancakes. Lots of pancakes. Smile

Small Kitchen College Repost - Dining Hall DIY: The Quesadilla Epiphany

<<Hey all, please note that this is a re-post from Small Kitchen College, a college food/lifestyle blog for which I'm a contributing writer. See the full post here: http://college.biggirlssmallkitchen.com/2012/03/dining-hall-diy-the-quesadilla-epiphany.html. If you get a chance, I definitely recommend that you check out the entire site. Regardless of whether or not you're a college kiddo like myself or just a foodie still hungry for more, it's both a great resource and a great laugh!>>

Dining Hall DIY: The Quesadilla Epiphany

It’s quite possible that this queso creation will change your life.

I mean, we could talk about caviar and microgastronomy, filet mignon and champagne, or prosciutto andgnocchi. But the truth is, sometimes you just can’t compete with warm, cheesy triangle of uber deliciousness.

This is way more awesome than a heaping serving of dining hall “gunk.” But it’s also totes affordable if you’re someone suffering from Top Ramen overdoses; if you’re someone looking for comfort food minus the Paula Deen; if you’re someone majoring in cheesiness and minoring in cheddar.

I don’t know if you dream about eating guacamole and sautéed mushrooms by the forkful like me. Nada big deal—you can skip it altogether, if that’s how you jam.

I don’t know if you are wonky and have a bizarre love for gluten-free tortillas like me. But that’s not a deal-breaker either—plain ol’ flour or corn tortillas will be perfectly fine.

I don’t know why in the world Snooki is preggers. But that’s another story for another day. I do know one thing, however.

This queso creation will change your life.

**Recipe**

The Quesadilla Epiphany
Serves 1 hungry person (or 2 as an appetizer)

Ingredients
1 large flour tortilla (gluten-free is fine as well)
1/4 cup (heaping) shredded cheese; cheddar or jack is preferable
1/4 cup sliced mushrooms (optional)
1/4 cup baby spinach, washed
2 tablespoons finely chopped onions
2 tablespoons salsa
1 tablespoon guacamole

On a large plate, layer cheese, mushrooms, spinach, onions, salsa, and guacamole on half of the tortilla.

Fold tortilla in half, sealing in fillings and creating a half-moon shape.

Place quesadilla in a panini press (or George Foreman grill).

Allow quesadilla to cook for 4 minutes, or until the outside of the tortilla is golden brown and the cheese is melty. Enjoy!

Lexi Cotcamp is a freshman at Georgetown University, where is exploring a major in the McDonough School of Business. An ardent lover of just about every fruit or vegetable you could name, she considers dessert to be an absolute necessity to the existence of mankind.

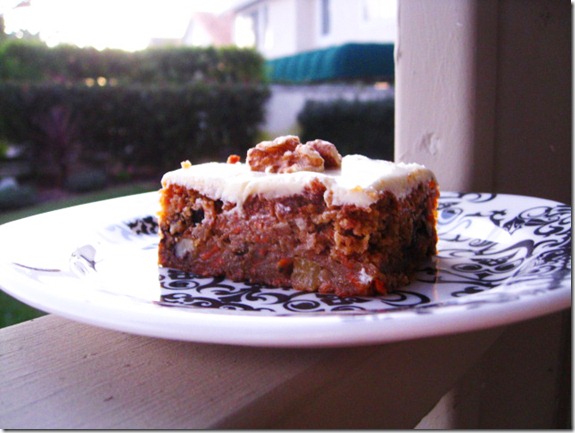
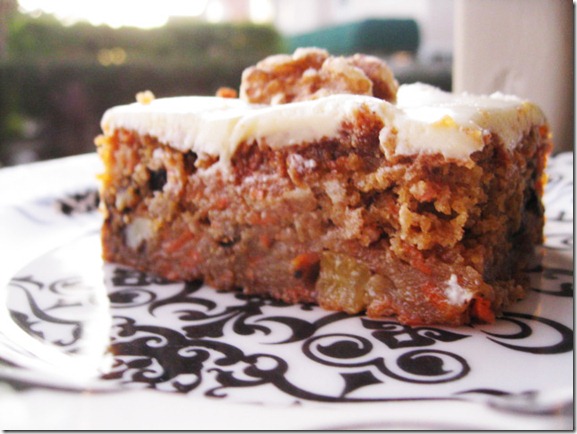
A Birthday Favorite–Recipe: Super Moist Carrot Cake

IMG_4595

Each year for my birthday, Mum would always ask what kind of cake I wanted. While other kids would happily cry “chocolate/vanilla!” my answer was usually a bit different. Being an ardent fruit lover, I always requested a strawberry sponge cake from an Asian bakery or carrot cake.

IMG_4585

Then, I learned that other kids did not share my affection for carrot cake. Everyone would sing happy birthday, and I’d blow out the candles, only to find that I was the only one who wanted birthday cake. The first time it happened, I was upset. The next time though, I happily ate my mom’s carrot cake, while the other kids dug into a store-bought chocolate cake with tasteless frosting balloons. More for me Winking smile 

IMG_4589

Over the years, some of friends began to appreciate carrot cake as well. However, it didn’t take me long to realize that not every carrot cake tasted like mother dearest’s special version.

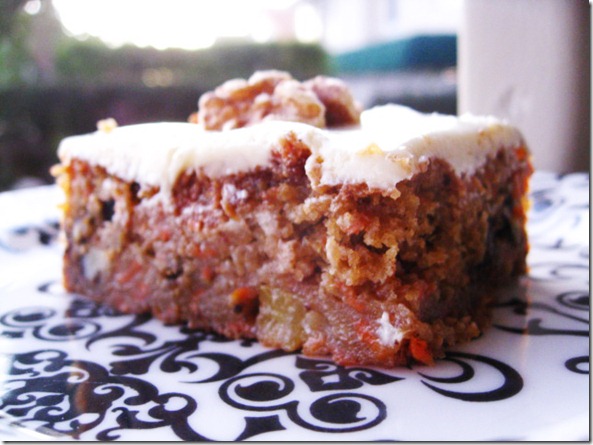
Mum always iced her walnut and pineapple studied cake with an AMAZING amaretto-cream cheese frosting. No restaurant or store-bought version could compare.

IMG_4592IMG_4593

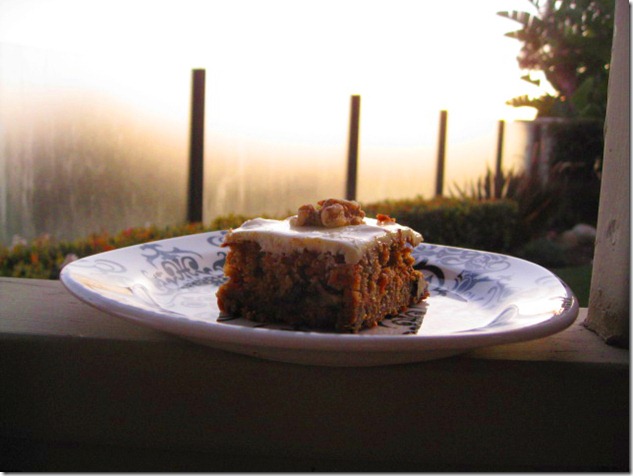
Upon learning how to bake, I tried out this recipe and found it just as good as a I remembered. Though it’s a bit more labor intensive than the average cake (if you don’t buy pre-shredded carrots), this gem of a cake is simply to die for—without a doubt, the best of its kind.

Let’s hope my kids think so too.

IMG_4584

Super Moist Carrot Cake

Some kids will shy away from this cake, if you tell them that it contains vegetables. Solution: don’t tell them, and watch with glee as they gobble down every carrot-embellished bite. This cake is ridiculously moist and with just the right amount of spice. Slather on some of Mom’s amaretto-cream cheese frosting, and you’ll have kids renouncing the likes of store-bought cakes with frosting balloons.

Adapted from Mom (via Kathy Hunt)

Ingredients:

1 cup sugar (slightly heaping)
2 cups flour
1/4 cup oil

3/4 cup applesauce
4 eggs
2 tsp baking powder
2 tsp baking soda
2 tsp salt
2 tsp cinnamon
dash nutmeg
small can crushed pineapple
chopped walnuts
3 ½ cups carrots, shredded

Directions:

1) Preheat oven to 325 degrees. Grease a 9x13 baking pan.

2) In a large mixing bowl, sift together the flour, sugar, baking powder, baking soda, salt, cinnamon, and nutmeg. Whisk until well-combined and no lumps remain.

3) In a separate bowl, whisk together the oil, applesauce, and eggs. Add in shredded carrots and crushed pineapple.

4) Add the wet ingredient mixture to the flour mixture. Fold in chopped walnuts.

5) Pour into prepared pan, and bake for 55 minutes. Use a toothpick to check for doneness. Let cake cool completely before frosting.

Cream-Cheese Amaretto Frosting (the most delicious frosting EVER)

Ingredients:

1 cup butter

1 8-oz block neufchatel lite cream cheese

1 tablespoon amaretto (or 1 tsp almond extract)

3 cups powdered sugar

Directions:

Using a mixer (or a LOT of elbow grease), beat together butter, cream cheese, and amaretto. Stir in powdered sugar and continue beating until fluffy.

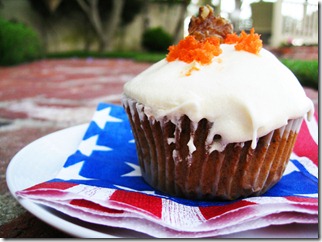
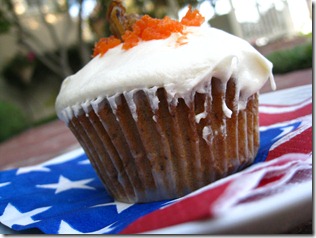
Alternatively, you could also make this into cupcakes for fun-sized deliciousness.

You’d probably have to reduce the baking time to about 18-20 minutes, but I can’t remember exactly. Open-mouthed smile

IMG_6607editedIMG_6618

Worse comes to worse, you might end up with carrot cake cake batter.

Oh man, that would be a happy birthday, indeed.

IMG_4588

Recipe: The Best Banana Bread EVER. Period.

Somewhere, in the dark depths of my mom’s recipe stores, there sits an old, yellowed notecard. In my mom’s borderline-indecipherable handwriting, the words, “Beth’s Friend’s Banana Bread” are scrawled across the top. I have no idea who Beth is. And I most certainly don’t know Beth’s friend.

What I do know, however, is that she made some KILLER banana bread.

The best you will ever taste.

IMG_4167_new

Mother dearest has been baking this recipe for as long as I can remember. Both she and Dad are wonderful cooks, but this wonderfully moist loaf of banana-y goodness is, arguably, her specialty. In fact, she keeps that old yellow notecard lovingly tucked in the “B” section of her recipe box, but I can’t remember the last time she used it. Even amidst working full-time and raising a family, she manages to know by heart how to make the best banana bread known to man.

Of course, Mum also had time made time to teach me the “secret family recipe.” Toddling around the kitchen, I would ask her, “Mumma, when are you going to make banana bread?”

IMG_7558_new

She would respond, “As soon as the bananas are really ripe. Want to help me?”

So brother and I would wait, getting excited when we finally saw the tell tale sign—3 dappled bananas, deep golden yellow with kisses of black.

Soon after, we’d be fighting over the last lick of batter, while we willed 70 minutes to go by faster. And then, magic: warm banana bread with a crispy gold-brown crust and sweet, luscious interior. Devoured, without fail, within 24 hours.

IMG_7535_New

As soon as I learned how to bake and use the oven, I made a point to make Mom’s banana bread. (Actually, it may have been the first thing I ever baked?!). To this day, I still make her banana bread, both for family at home and friends at Georgetown. Regardless of where or when I make the bread, it never seems to disappoint.

And regardless of how many times I make it, I still think of that yellowed notecard, of Beth, of Beth’s friend, and perhaps most importantly, of Mom and I making banana bread together.

IMG_7536_new

The Best Banana Bread Ever (a.k.a Beth’s friend’s Banana Bread)

My mom has been making this bread for as long as I can remember for good reason—it never lasts more than a day in our house. Always a huge crowd pleaser, this banana bread is sweet but not too sweet and seriously addictive. The addition of walnuts adds a perfect crunch that I (as well as Mom) highly, highly recommend. I’ve never found a better b-bread, and I doubt I will. If you’re still on the hunt for that illusive “best banana bread ever, I recommend giving this one a go!

Adapted from Mom’s banana bread recipe

(Can be gluten free, vegan, and whole-grain)

3 large (or 4 small) overripe bananas (the blacker, the better)

1/2 cup sugar

1 egg [Note: To make this vegan, try using 1 flax egg or 1/4 cup pureed silken tofu]

1/4 cup melted butter (or margarine, vegan is fine)

1 1/2 cups flour [Note: See comments below for GF/whole grain option.

1 tsp baking soda

1 tsp salt

1/2 cup walnuts, chopped

Directions:

1) Preheat the oven to 325 degrees, and grease a 9x5 loaf pan.

2) Mash the bananas in a bowl with a fork, ricer, or potato masher until smooth. Some small lumps are okay. Beat in sugar, egg, and butter/margarine

3) Whisk in flour, baking soda, and salt, stirring until just combined. Fold in chopped walnuts. Pour batter into loaf pan. Bake for 70 minutes, testing doneness with a toothpick.

Easy as 1-2-3!

…But just incase that was too much for a Wednesday, let’s learn how to make banana bread old school—just like how Mom showed me.

Grab a bowl. You want it to be fairly big so you can properly smush all the bananas.

IMG_4524

Using a fork, ricer, or potato masher (my four-year-old self’s personal favorite), smush the bananas until smooth. Got a few lumps? No problemo. This is art, not science.

Add in all da wet stuff. Feel free to use an egg substitute and vegan margarine/buttery spread instead, if that’s how you roll. With only 1/2 cup of sugar, we can call this a healthy-ish endeavor.

IMG_7949

Now for the dry ingredients. Mix in the flour, baking soda, and salt until everything is well-combined, but don’t overmix. Mom always used regular AP flour, but if you’re looking for a gluten free or whole-grain option, try using oat flour.The result will be slightly more dense and grain-y but not in a bad way. If this is your first time making it, I’d recommend trying the AP flour, just so you can try Mom’s traditional recipe.

IMG_7936

Fold in the walnuts. You could skip this, but the nuts really add an extra oomph to this bread. Do you really want to miss out on oomph? Didn’t think so.

Bake at 325 degrees for 60 minutes. Resist the urge to peak. That’s Dad’s job.

Enjoy!

This Stuff Will Change Your Life – Recipe: Walnut Butter

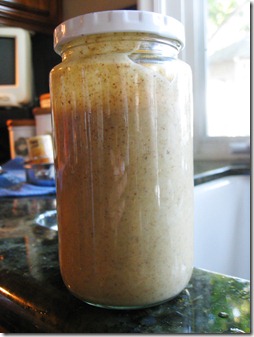
IMG_7924 You think I’m kidding…………..

But I’m not.

This stuff is like crack. Only better.

Why are we talking about drugs? Let’s talk about walnut butter.

It’s easy. Like super dee duper easy. There’s blades involved, so leave the kids at home for this soiree. That means more crack for you anyway.

The story begins something like this.

IMG_7936

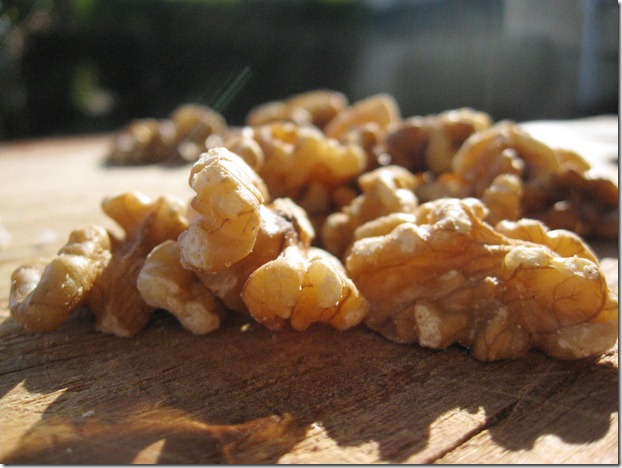
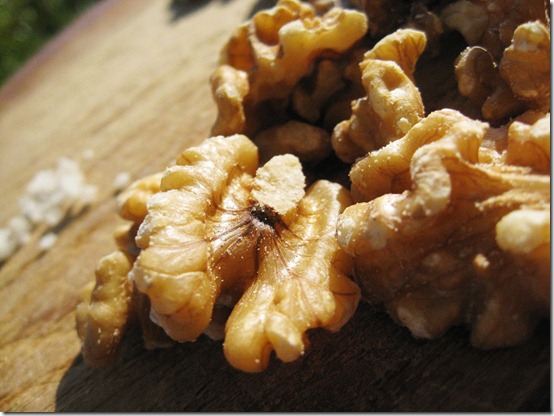
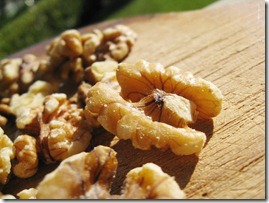
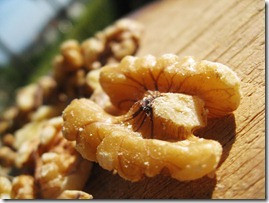
Walnuts. Get ‘em from Costco or a bulk bin or online or from the walnut dealers in the back alleys. Just get ‘em, and I won’t ask questions. Kay?

IMG_7931

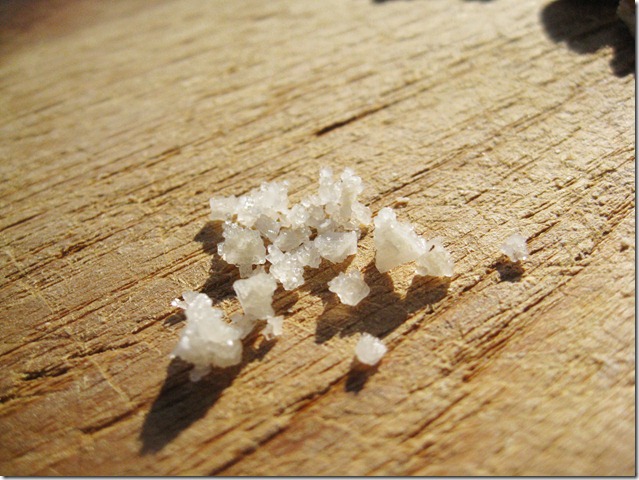
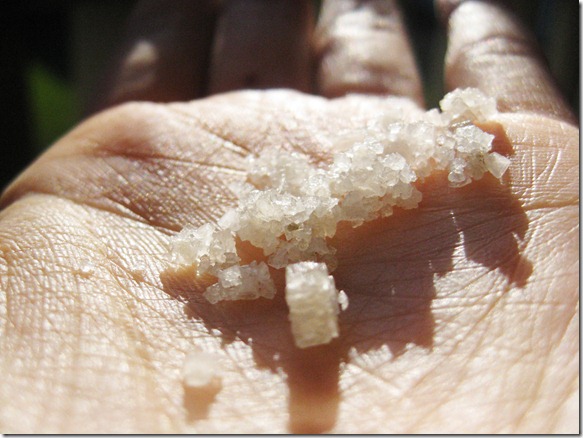
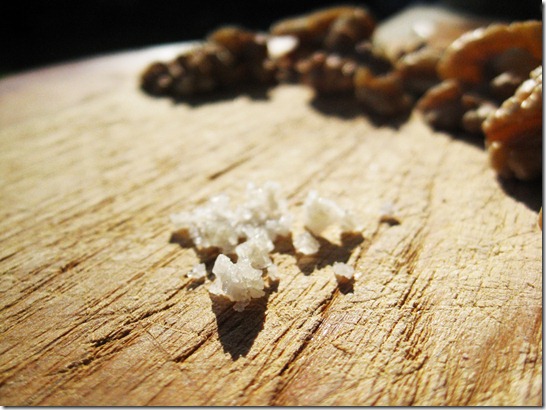
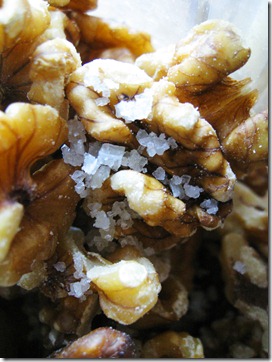
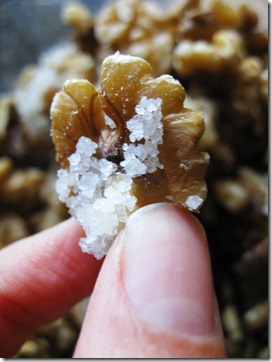
Now, onto the salt. Move over sugar, there’s a new lover in my life. Look at those pearly whites.

Can we have some honest dialogue about salt? It’s important.

IMG_7935

I know it’s tempting to use regular ‘ole salt—like the kind that comes in Big Gulp-sized containers, but please don’t. You’ll break my heart.

This isn’t even food snobbery; this is me telling it like it is. Plain table salt will make your beautious nut buttah taste kinda like well, crap. We don’t want that. Crap is already plentiful enough in this world anyway.

You don’t have to buy salt that is worth more than diamonds, just something a little classy.

IMG_7928

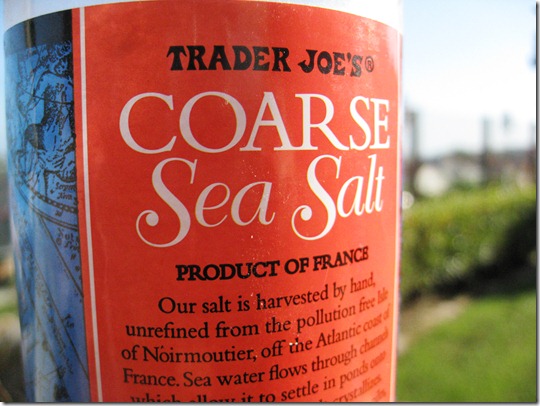
I went with Trader Joe’s coarse sea salt. Apparently it’s from off the Atlantic coast of France. Buttttt, I wouldn’t worry too much about that.

If you prefer mountainous salt not from Europe, that’s none of my business.

All I ask is that you try to get the good stuff.

IMG_7932

Please? Do it for me.

IMG_7937

Okay, now grab your walnuts and salt.

IMG_7929IMG_7926IMG_7939IMG_7940

Take a deep breath. And get ready for this WILDDDDDDDD ride.

Nothing (or should I say nut-thing?) but smooth sailing from here.
IMG_7955IMG_7953

Walnut Butter

This stuff is magical. Like all your dreams came true in one fell swoop. Somehow, the simple combination of walnuts and some good (sea) salt makes for an absolutely euphoric combination. The walnuts impart a buttery flavor and velvety smooth texture, while the sea salt provides an intricate end note. Let’s just call it peanut butter’s sophisticated older sister.

Yield: 2 cups walnut butter

Ingredients:

3 cups walnuts

3/4 tsp coarse sea salt or 1/2 tsp fine sea salt (USE GOOD SALT!)

Directions:

  1. In a food processor or high speed blender, add the walnuts and salt.
  2. Process for 10-15 minutes, scraping down the sides as necessary.
  3. Pour nut butter into a jar and refrigerate.

It really doesn’t get much easier than that, but just in case you’re feeling frisky today, how about a little photo tutorial?

IMG_7951

Combine nuts + salt in your food processor.

I use a Cuisinart that might as well be classified as a “dinosaur.”

(P.S. I still love you, Dino.)

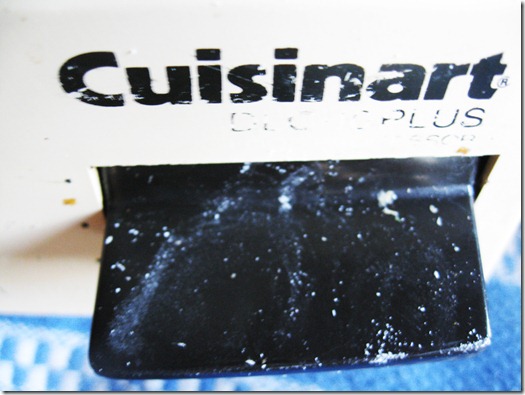
IMG_7957

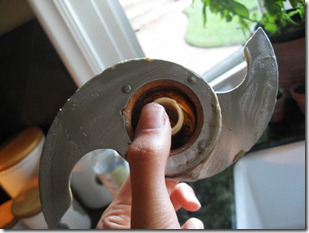
Can’t you almost make out the word Dino? At least it’s a plus…

I digress. I need to get my priorities straight.

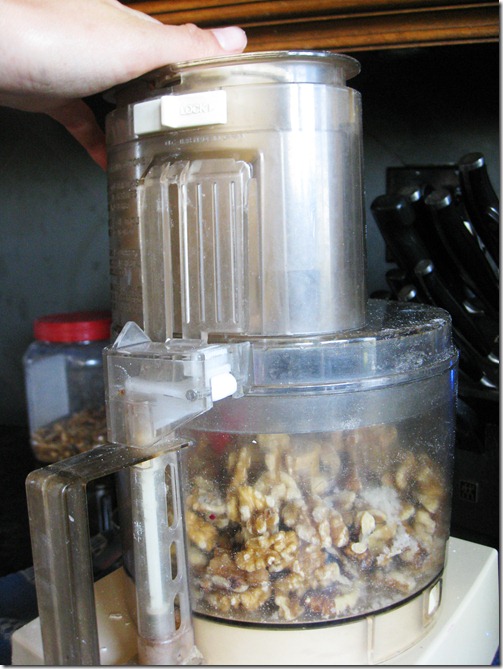
IMG_7956.

Snap on your lid, and start the blending.

Wheeeeeeee..kinda like a county fair ride that would make you puke.

Sorry, bad visual. Like I was saying…

IMG_7958

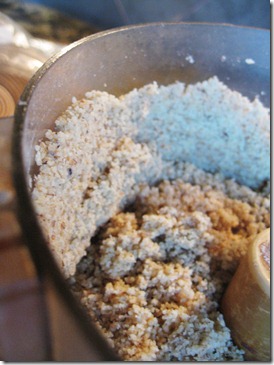
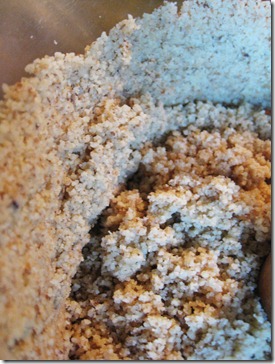
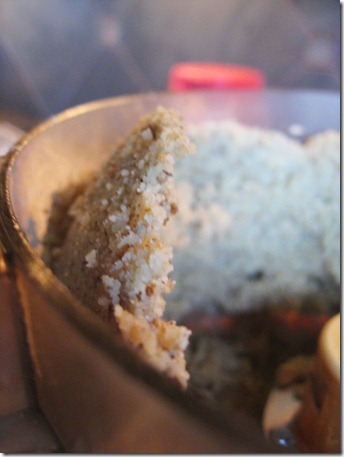
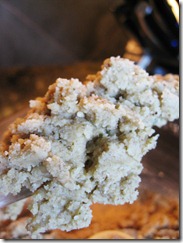
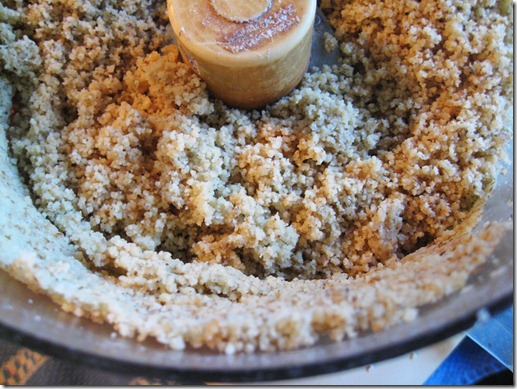
After a few minutes, it begins to look really crumbly.

IMG_7962

Similar in texture to wet sand. Only much better tasting.

IMG_7959IMG_7960

As you continue to blend, the nut butter may start to climb up the sides. Just stop processing for a moment and scrape down the sides before continuing to blend.

IMG_7965IMG_7966

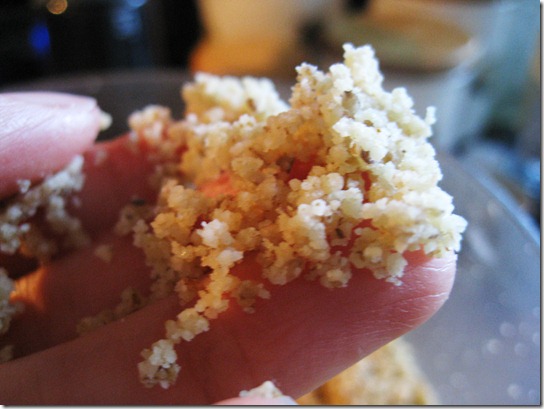
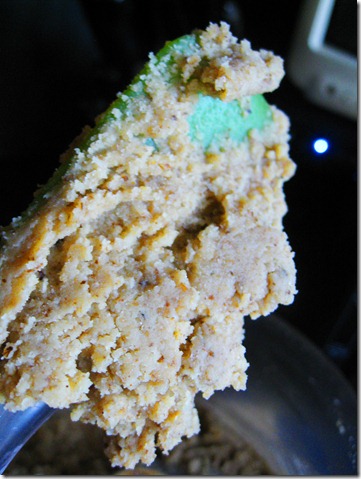
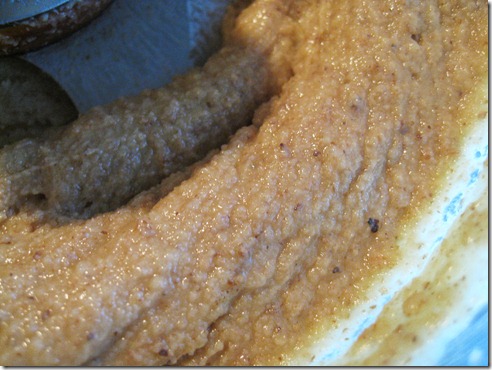
In the next few minutes, it should begin to look a lot like cookie dough.

Did someone say COOKIE DOUGH?!?!!??!!?

That’s another story for another day.

IMG_7969

IMG_7972IMG_7975

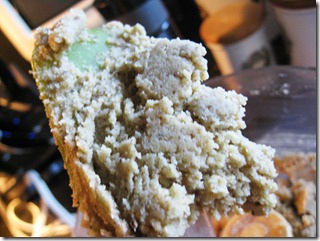
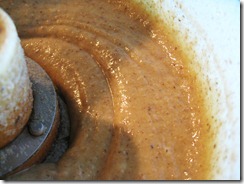
Soon, the butter will get to be more liquid-y but still really thick. Keep chuggin’ along.

IMG_7980

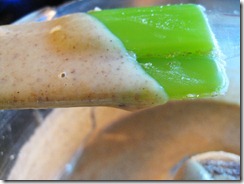
At last, you’ll start to get a smooth-ish consistency. You’ll be tempted to stop and to ignore these very words, but trust me, keep going. The nut budd-uh will thicken when placed in the fridge.

IMG_7983IMG_7987IMG_7991IMG_7997

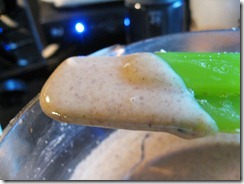
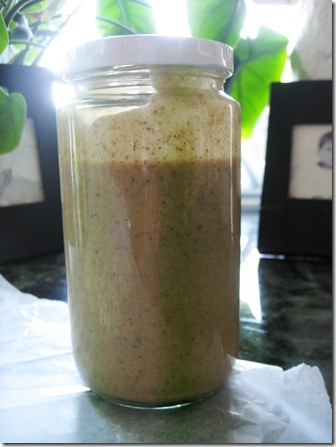
Finally, it should come to a semi-drippy consistency. For me, this is perfect for drizzling over oatmeal or a sweet potato, but if you’d like it a bit thicker, stop a couple minutes early.

Now for the best part—licking the food processor!

Don’t look at me like that. I know you’ve done it (or at least thought about it) too.

IMG_8000IMG_8002

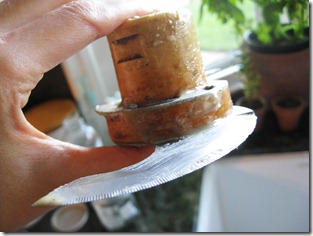
Just please, for the love of the world, do NOT leave the blade in.

I don’t think insurance covers “food processor incidents.”

IMG_8007IMG_8003

Whew, what a marathon post. If you’re still reading this, I have two things to say to you:

1) Kudos for making it all the way here!

2) Stop reading this, and go make walnut butter already. Top one of these with a spoonful and die of the euphoria.

It’s pretty much life-changing.

You still think I’m kidding…………………..but I’m not.

You can thank me later. Smile